Last month at a user group, they selected the magic square kata, which was a new one for me. Basically, you arrange 9 unique numbers in a 3x3 grid such that they add up to the same number horizontally, vertically and diagonally. I paired up with someone else who knew C#, and we tackled the kata in Visual Studio for Mac.
Although I’ve kicked the tires on VS4Mac a bit, one of the things I hadn’t tested out was, well.. testing!
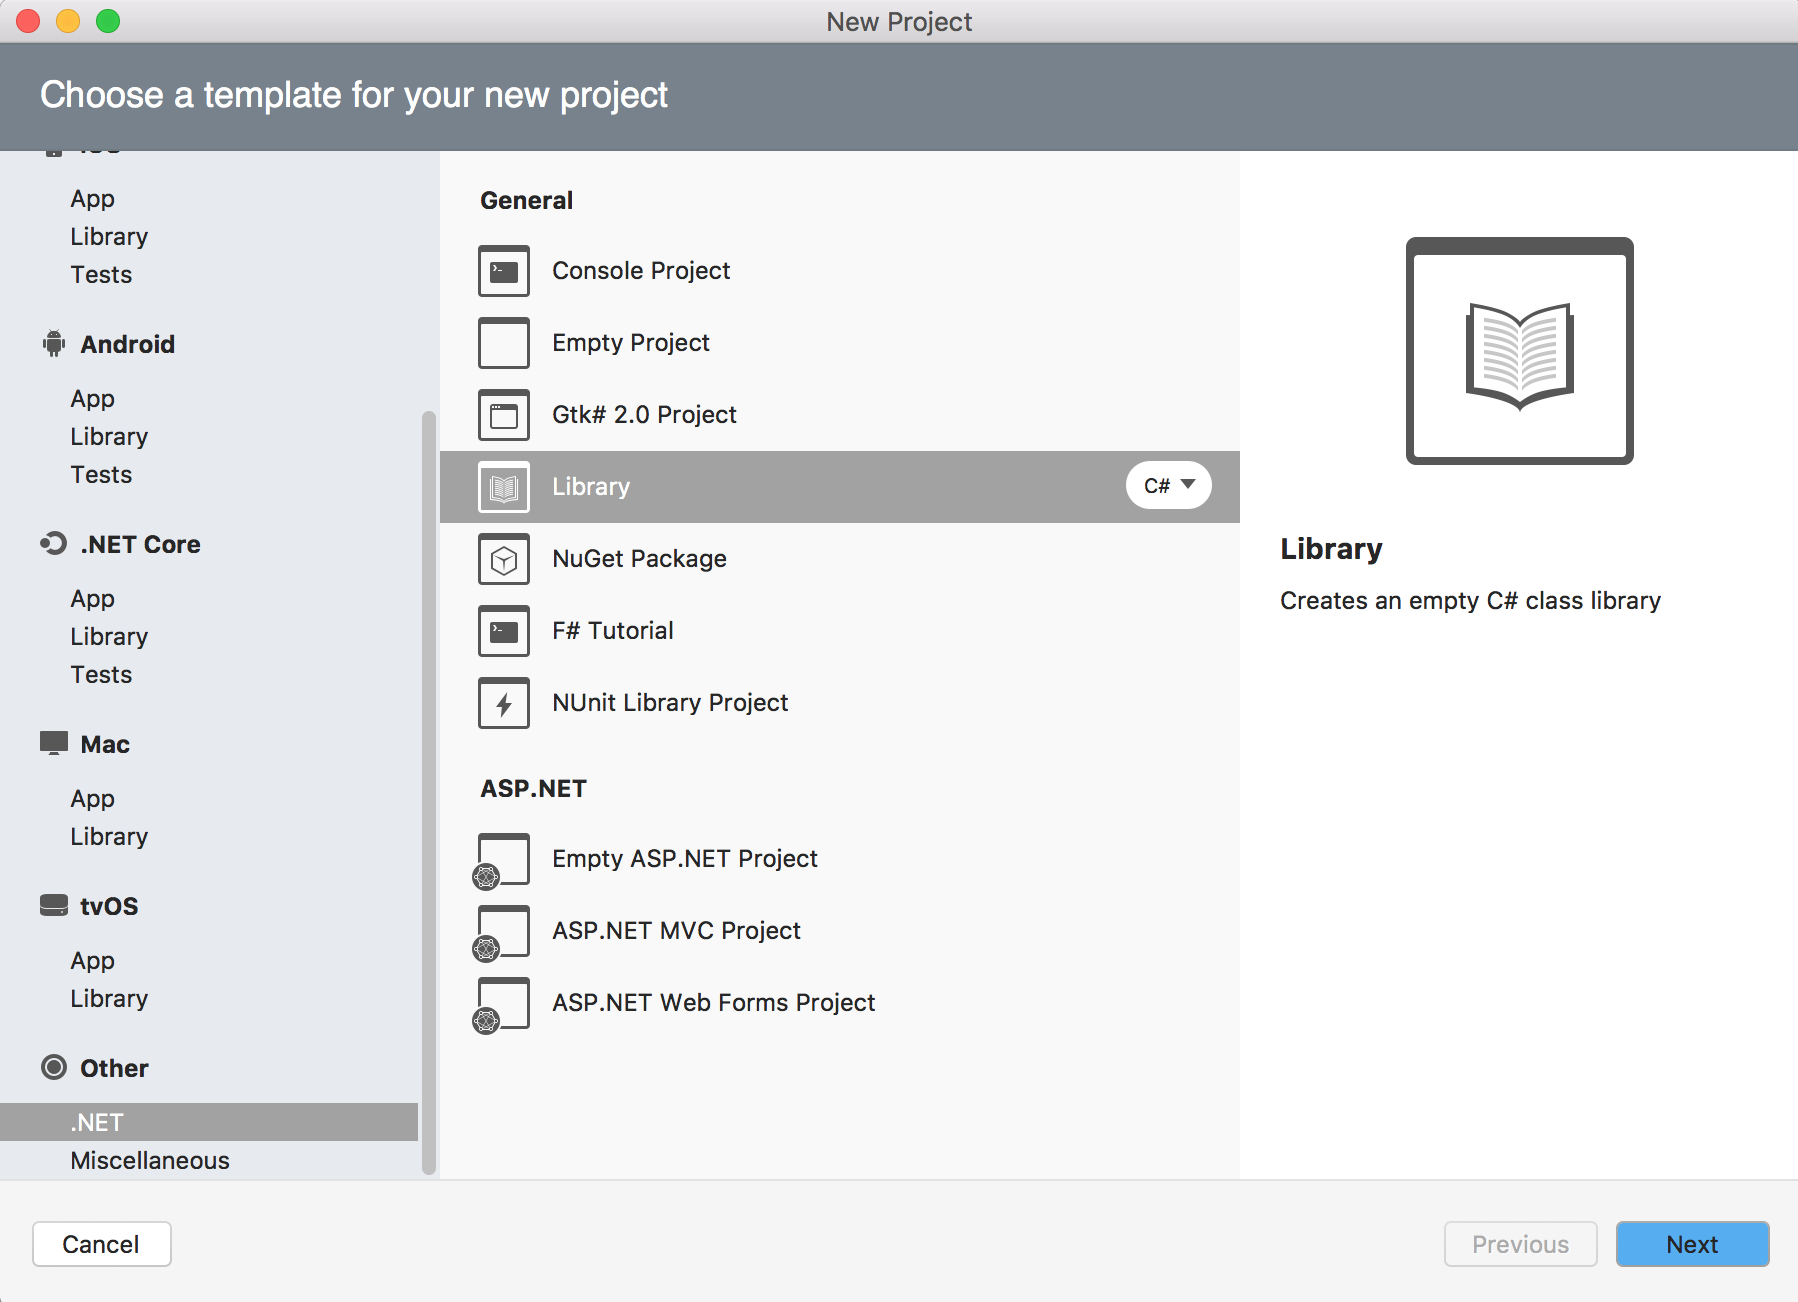
Method 1: An NUnit Library Project#
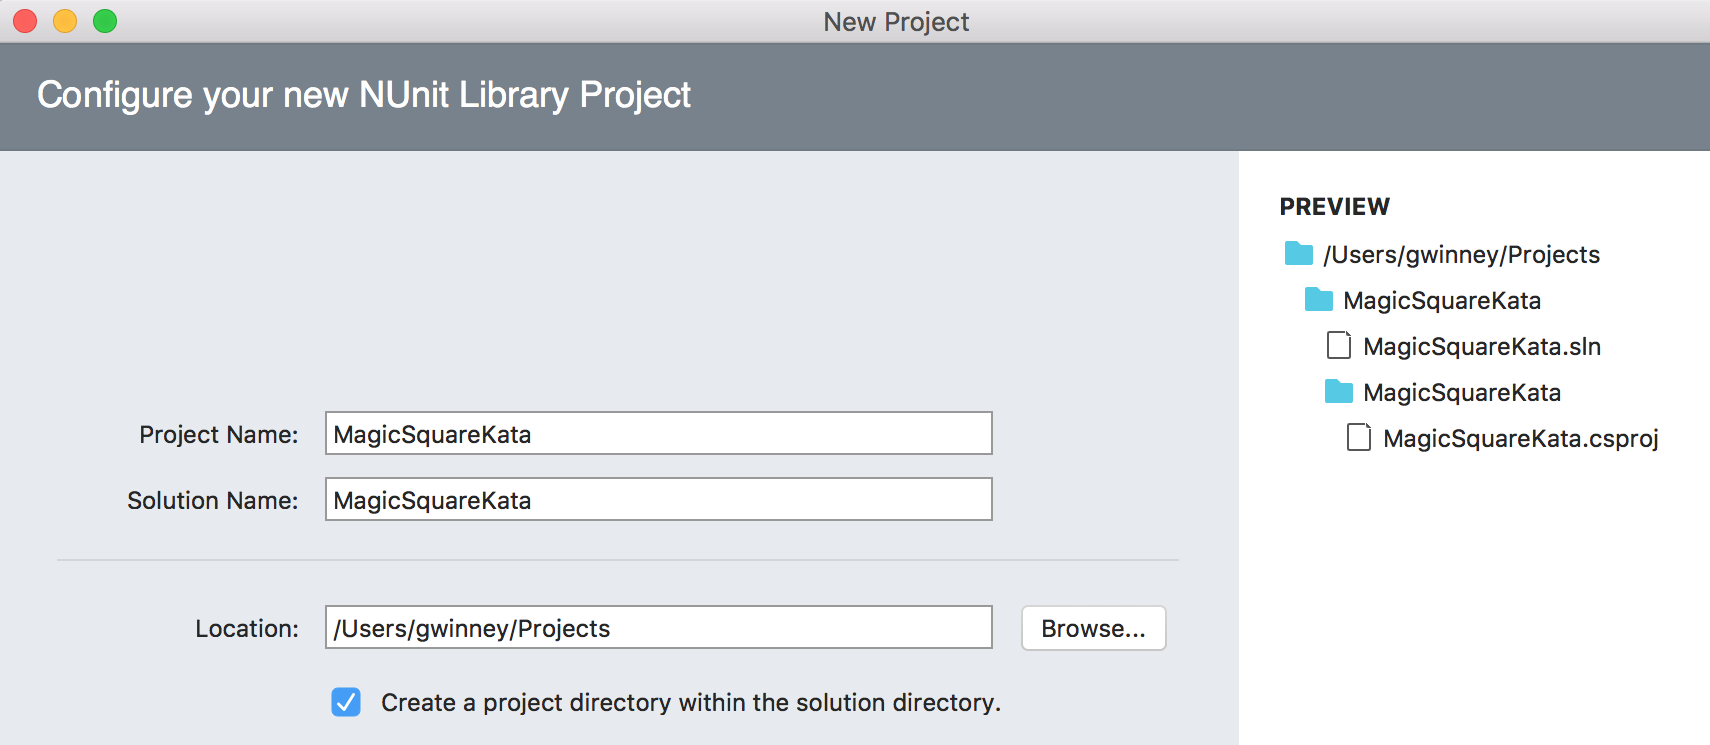
The easiest method is to just create a new “NUnit Library Project”. The VS4Mac team actually added a project type that includes the NUnit package and a test file out of the box. How convenient is that??
Create a new project#
Go to: File / New Solution / Other / .NET / NUnit Library Project

Create a class and some tests#
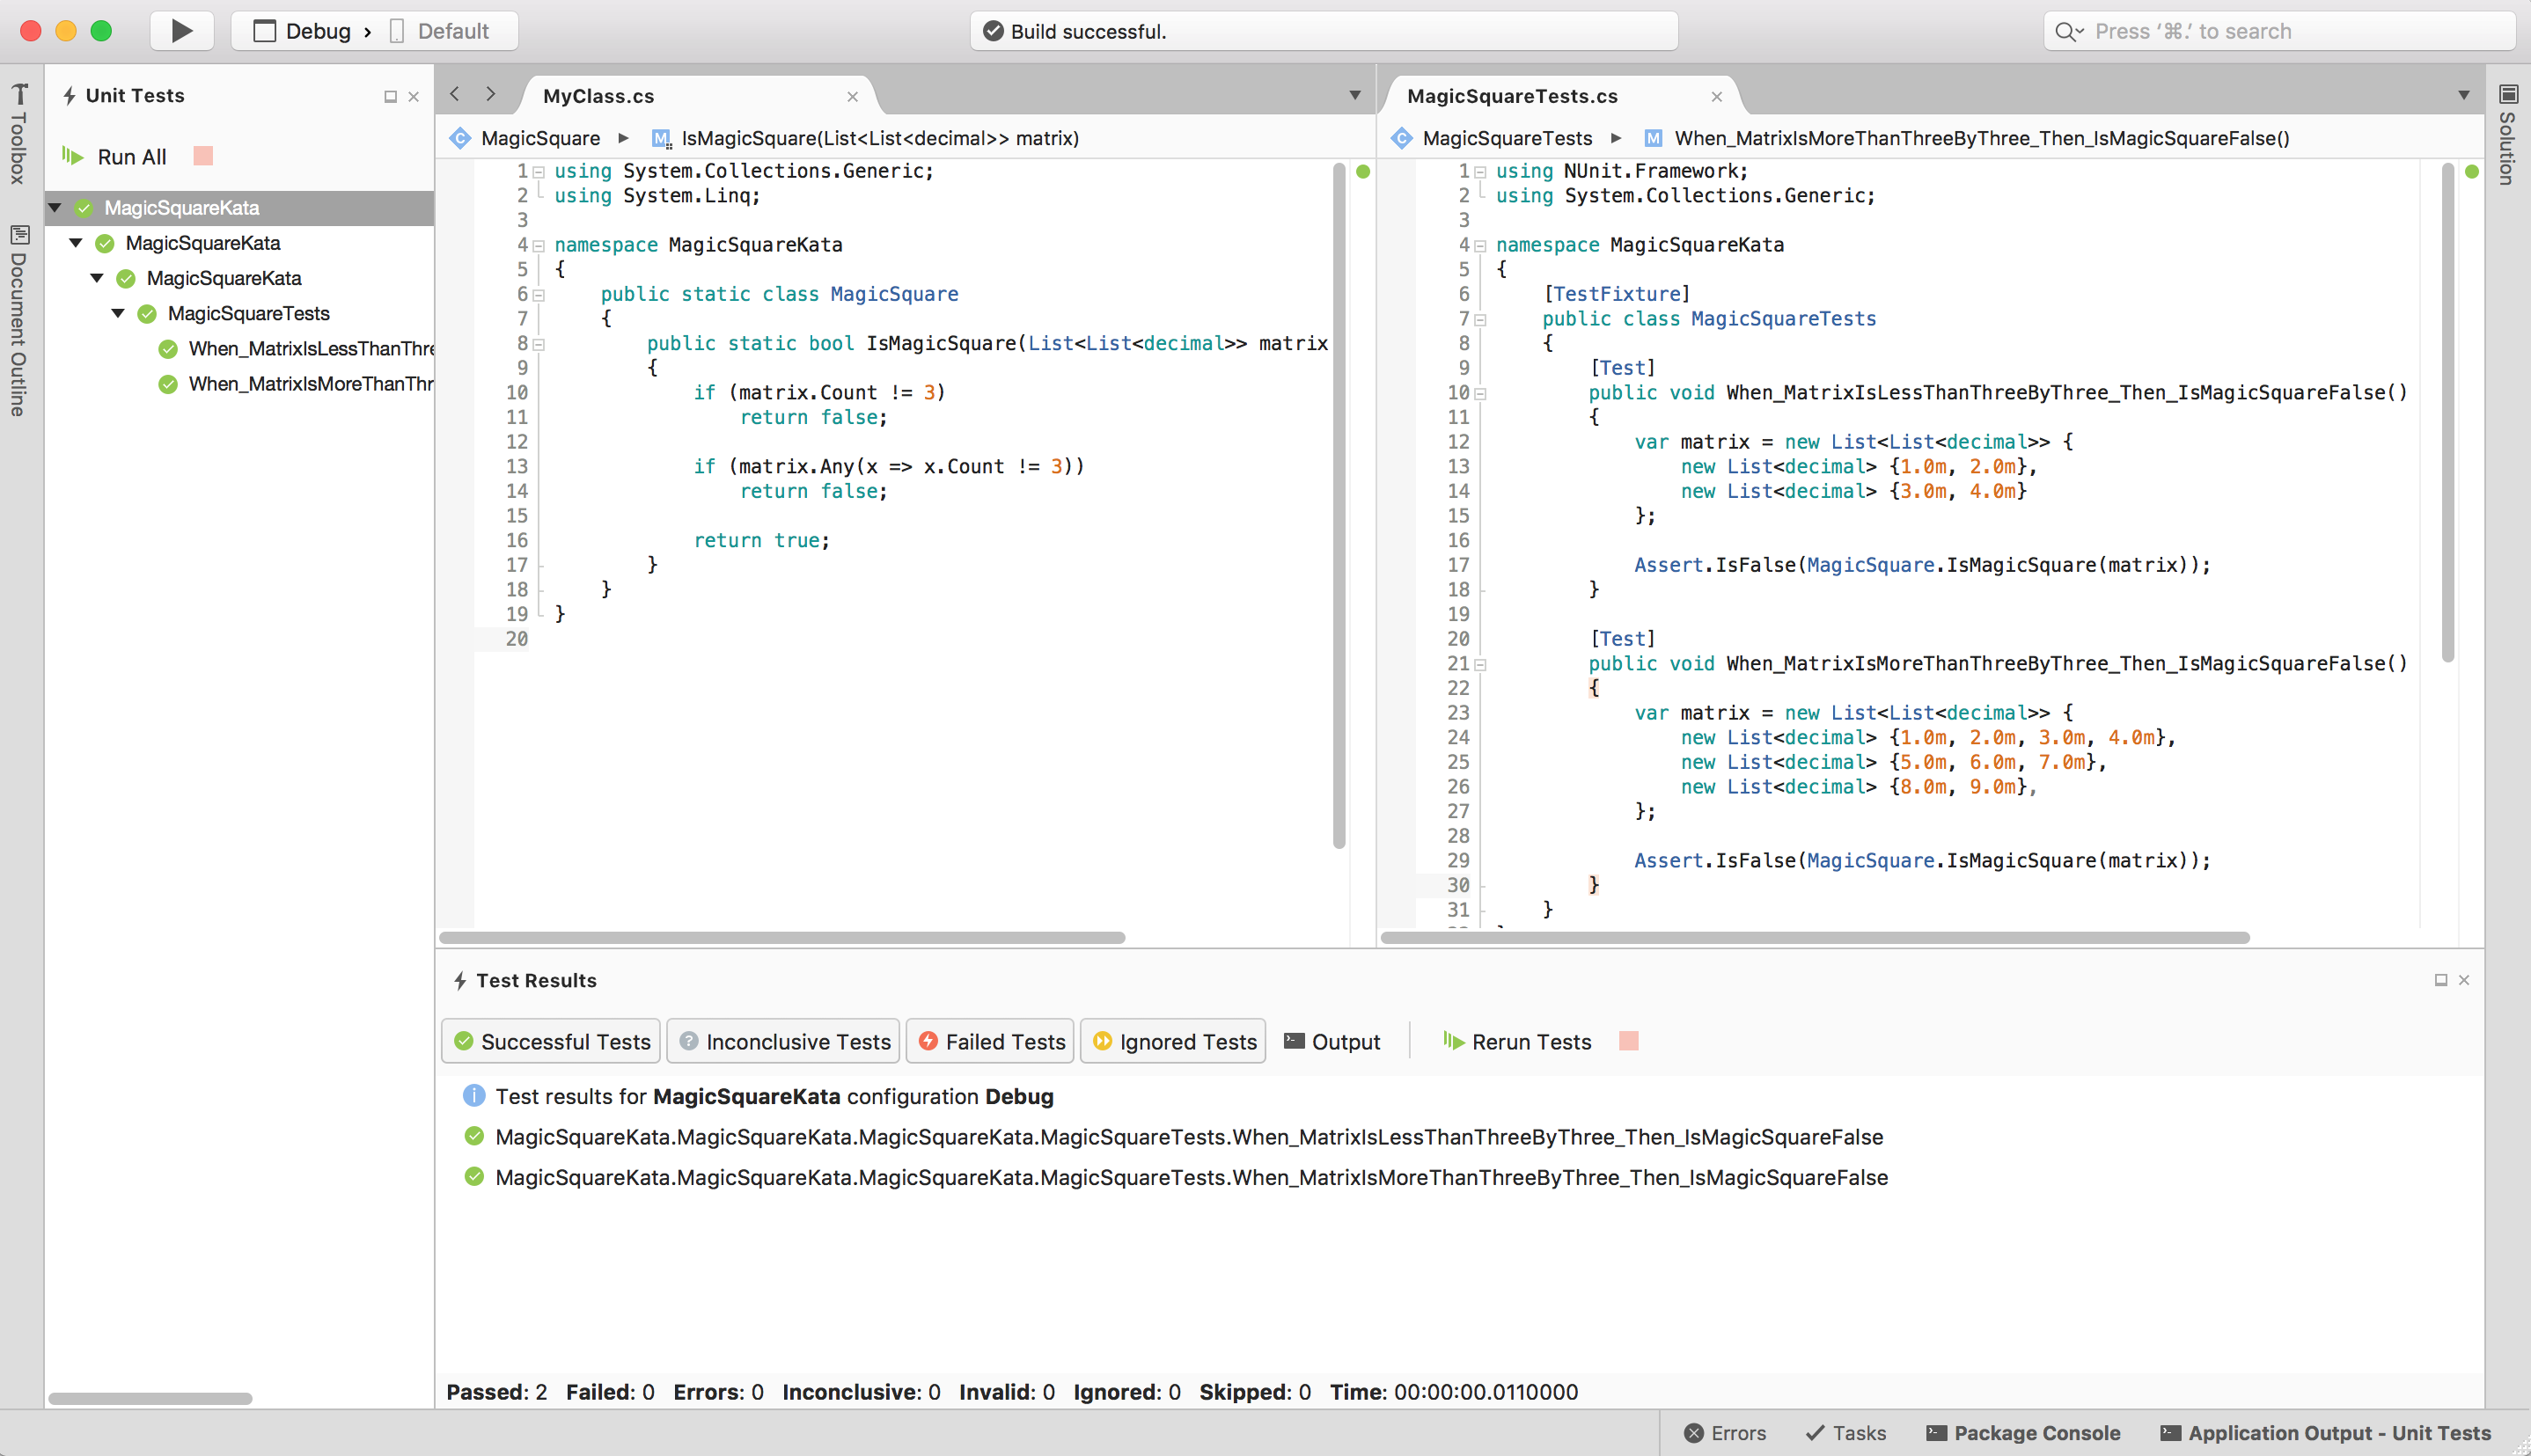
There’s already a “Test.cs” file ready to go, with the proper NUnit attributes and everything. Let’s create a regular class and add a couple tests against it.
Run the tests#
If the “Unit Test” pane (or pad as they call it on the Mac) isn’t visible, open it: View / Pads / Unit Tests
Click the build button (black triangle in upper-left) to see the new tests, if necessary. Or just click the “Run All” button in the Unit Tests pad.
Let’s change the logic so the tests fail (if they didn’t already) and check out the failure results in the “Test Results” pad at the bottom. If that pad isn’t visible, open it now: View / Pads / Test Results
That’s it! Using VS4Mac for TDD during a code kata doesn’t get much easier than that. :)
Method 2: Add NUnit to an Existing Project#
But what if we already have a project and just want to add tests to it?
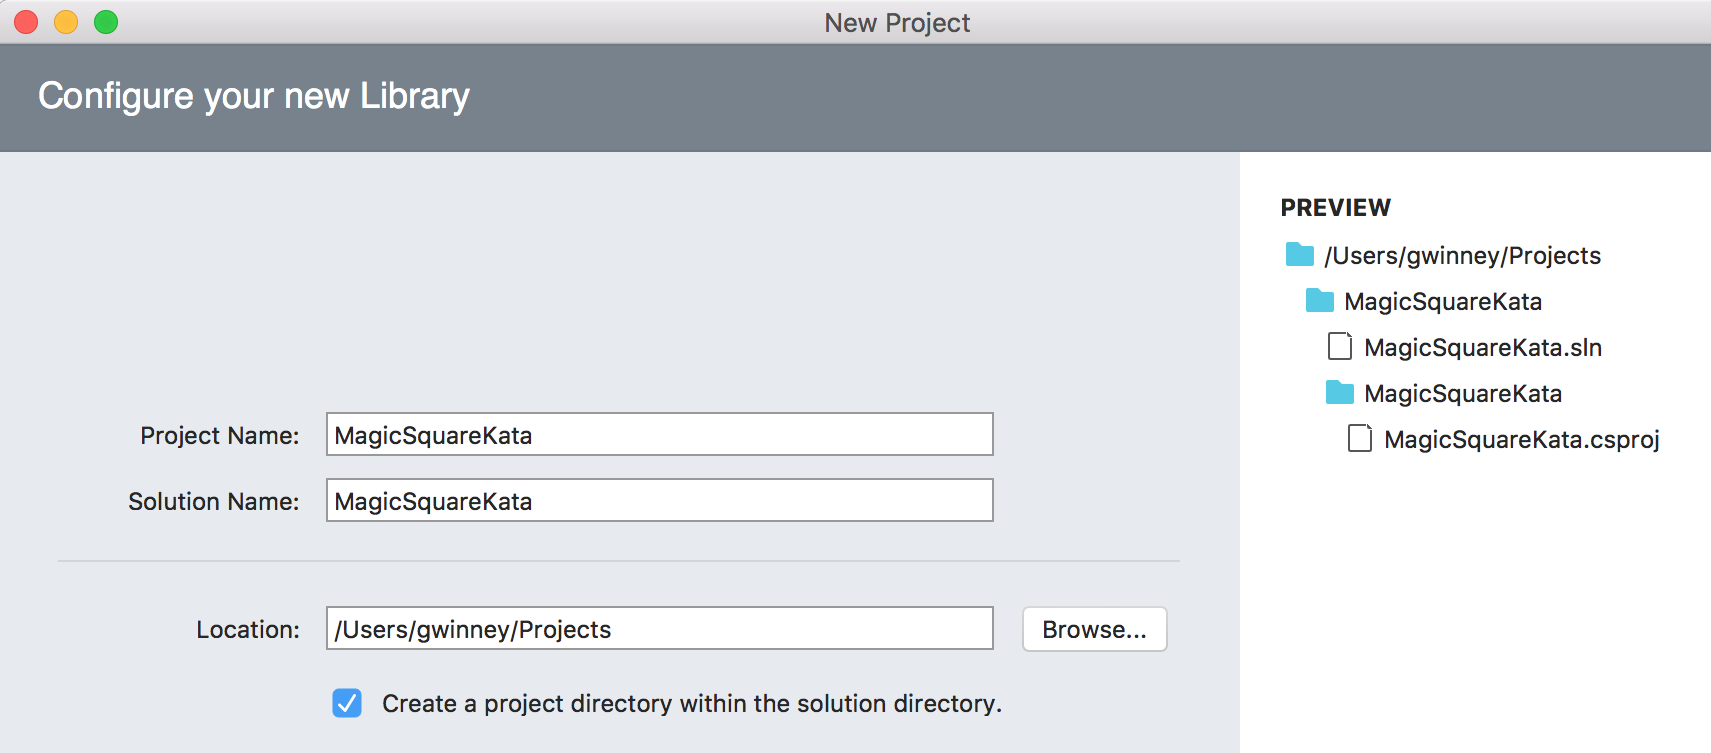
Start by creating a Library project to act as the “existing project”:File / New Solution / Other / .NET / Library
If the “Solution” pad isn’t visible on the side: go to: View / Pads / Solution
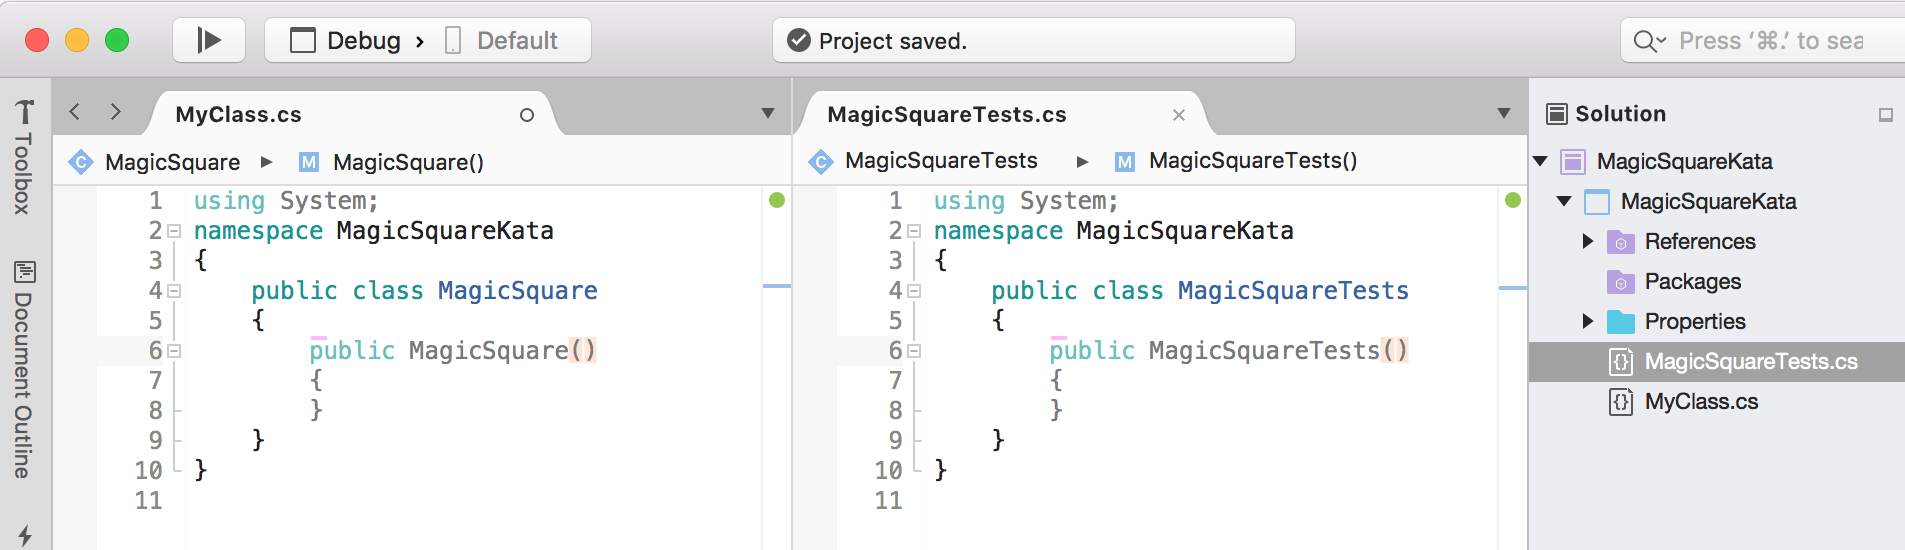
Create a Test File#
Right-click the project and choose Add / New File. Select General / Empty Class and name it “MagicSquareTests.cs”. Alternatively, do what I did and just rename the default “MyClass.cs” as my MagicSquare class, which should look something like this:
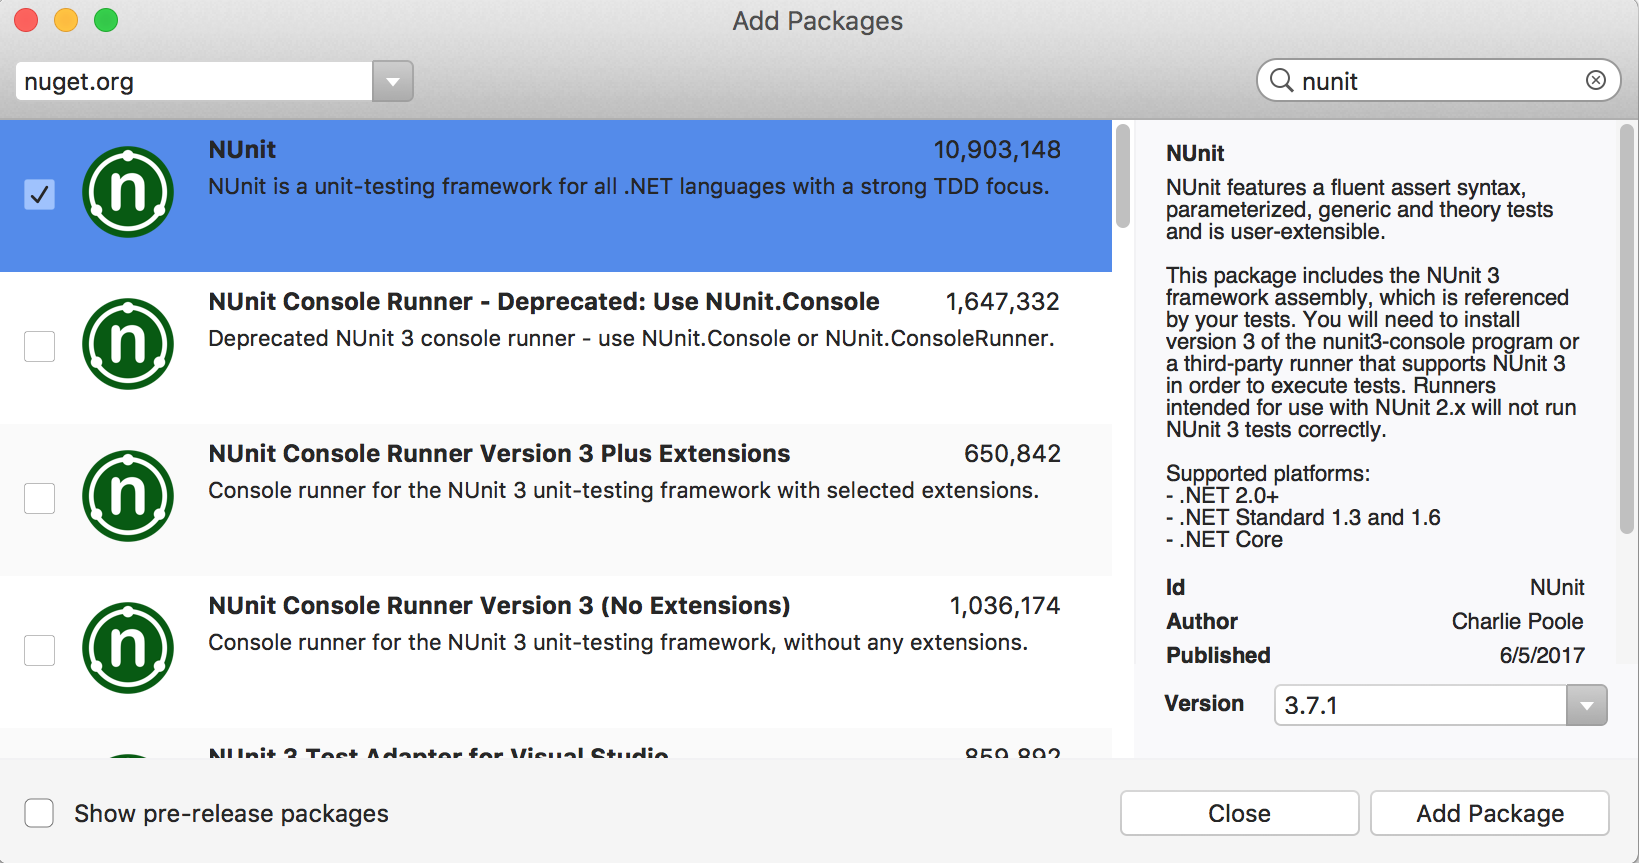
Add the NUnit Package via NuGet#
Right-click on Packages in the Solution pad and choose “Add Packages”. All we need is NUnit, not the NUnit Console Runner.
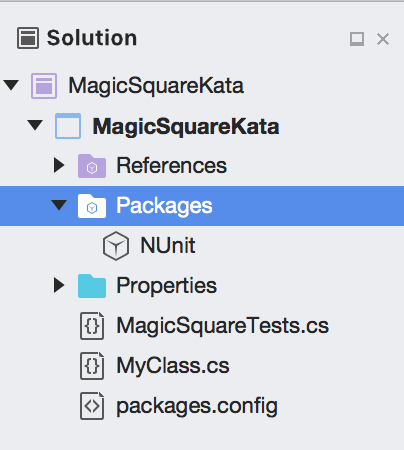
The NUnit folder should be visible under the Packages folder.
Create a Few Tests#
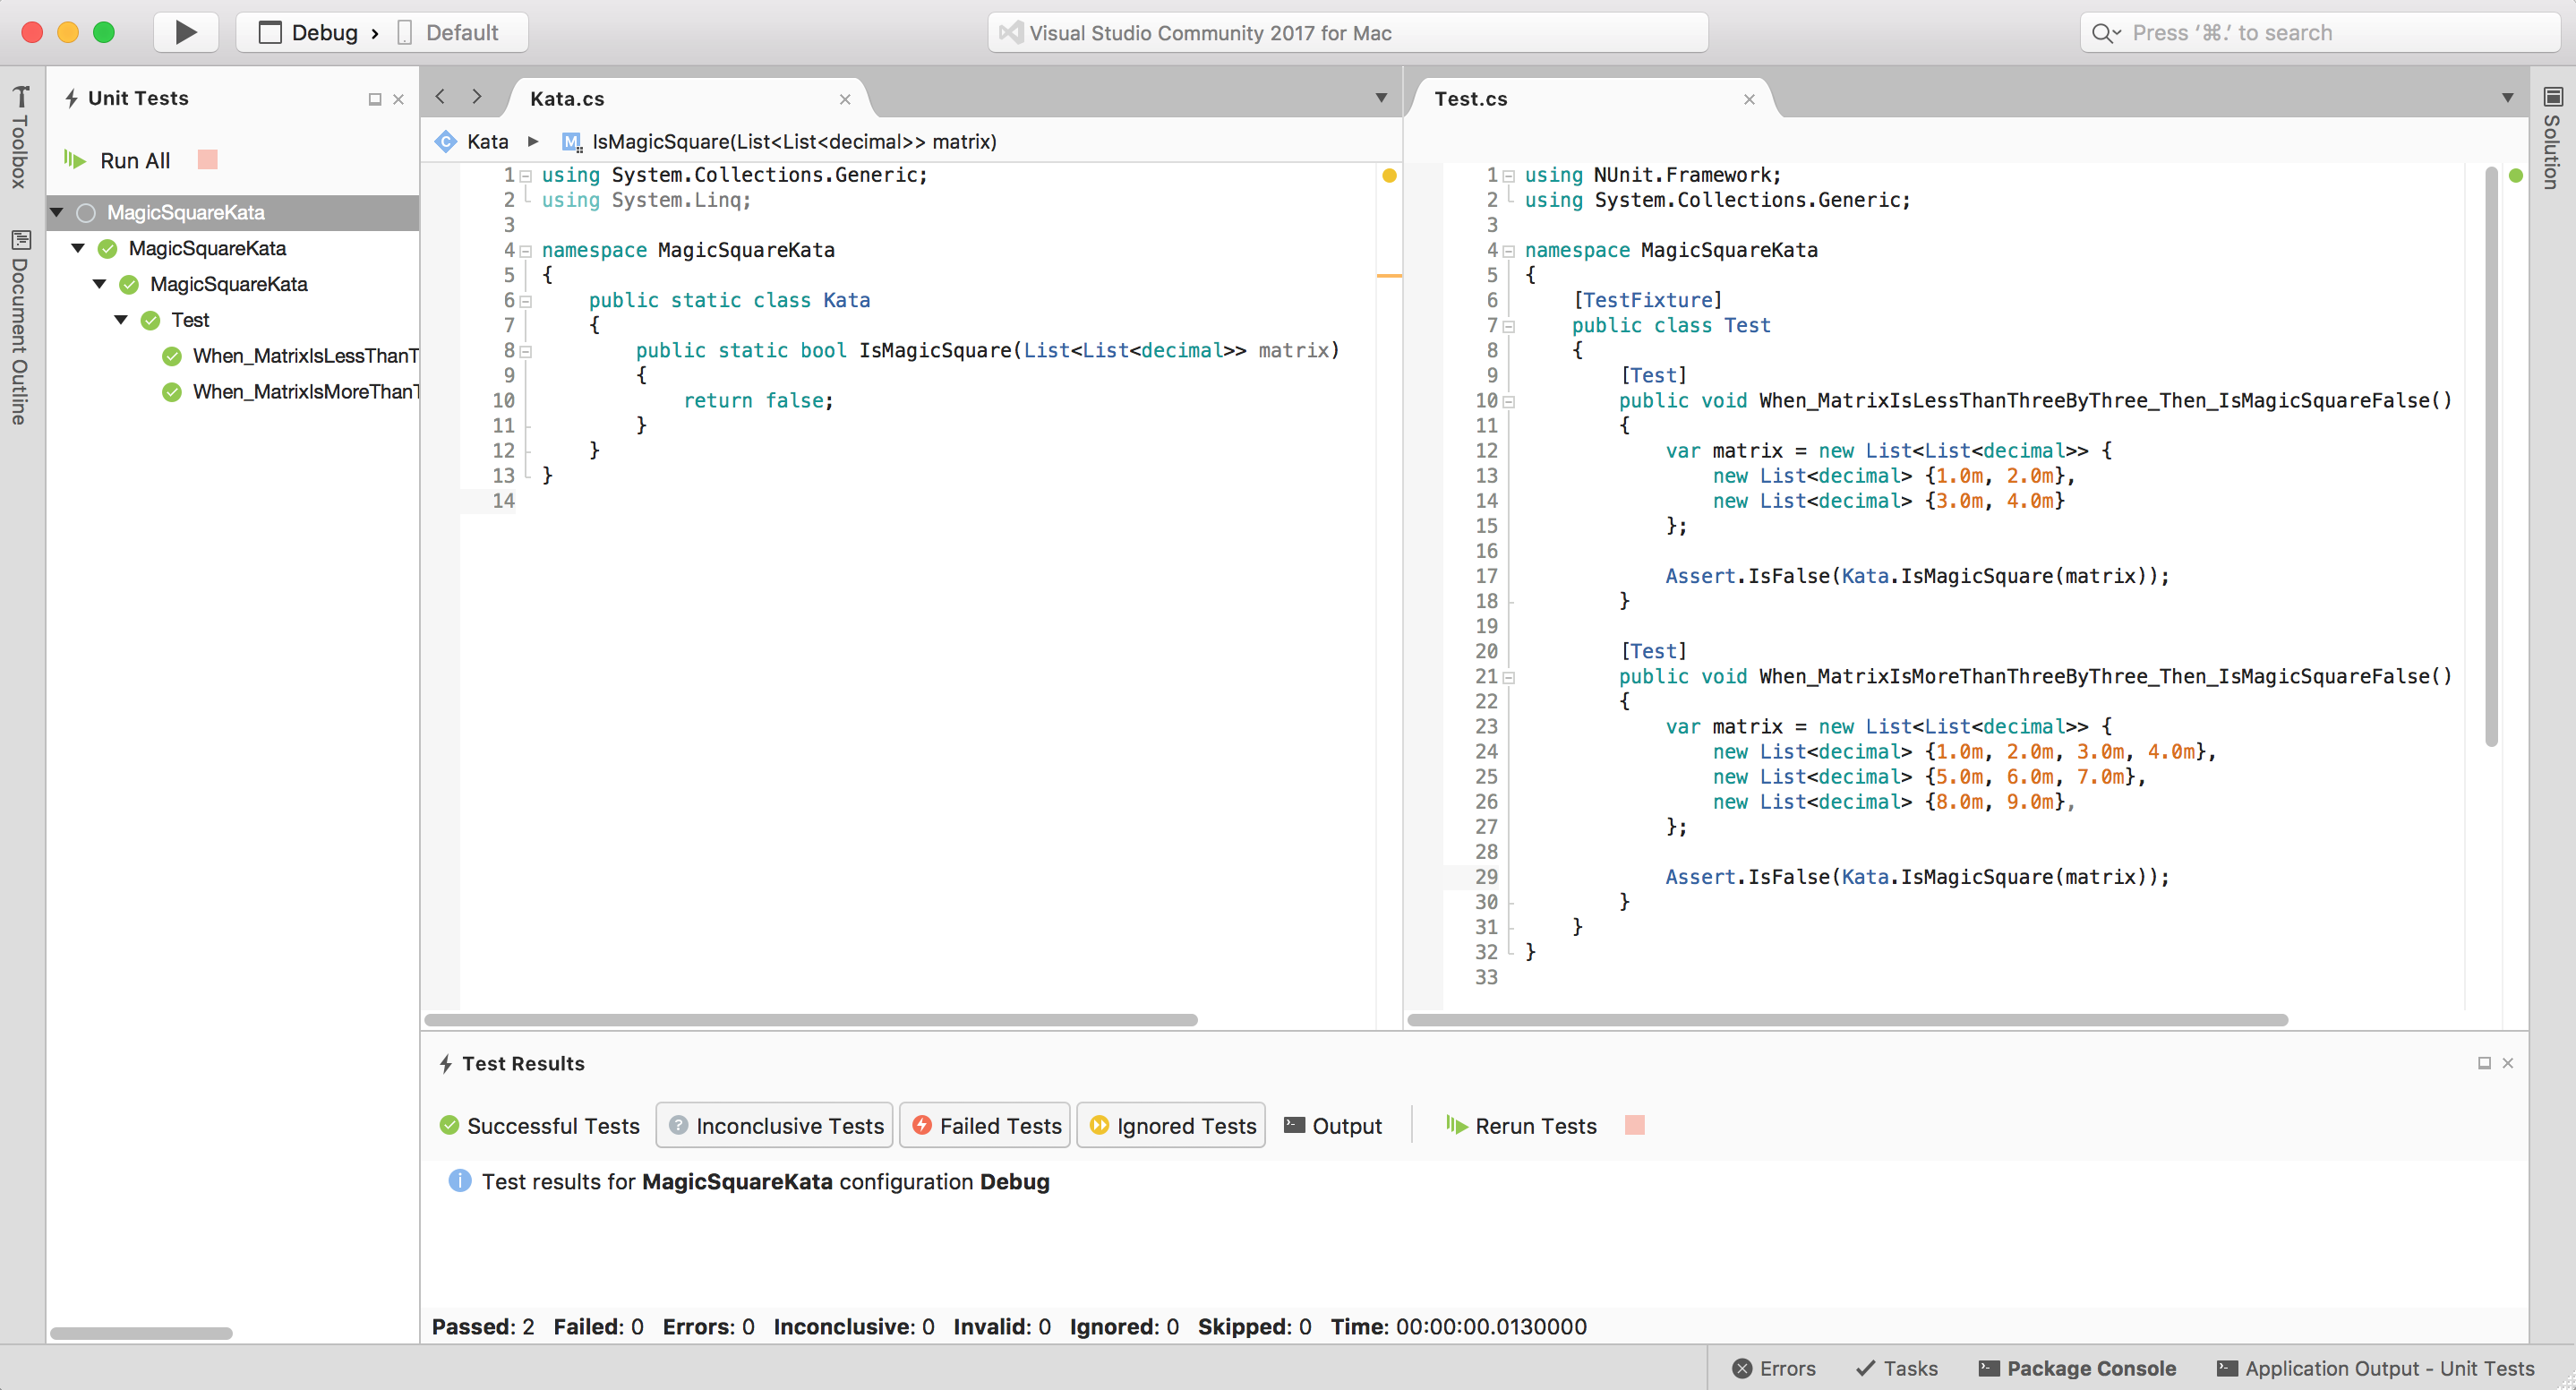
Let’s add some new tests to run against whatever logic the old project has. In my case, I added a single function for the magic square kata, and wrote a couple tests against it that were sure to fail:
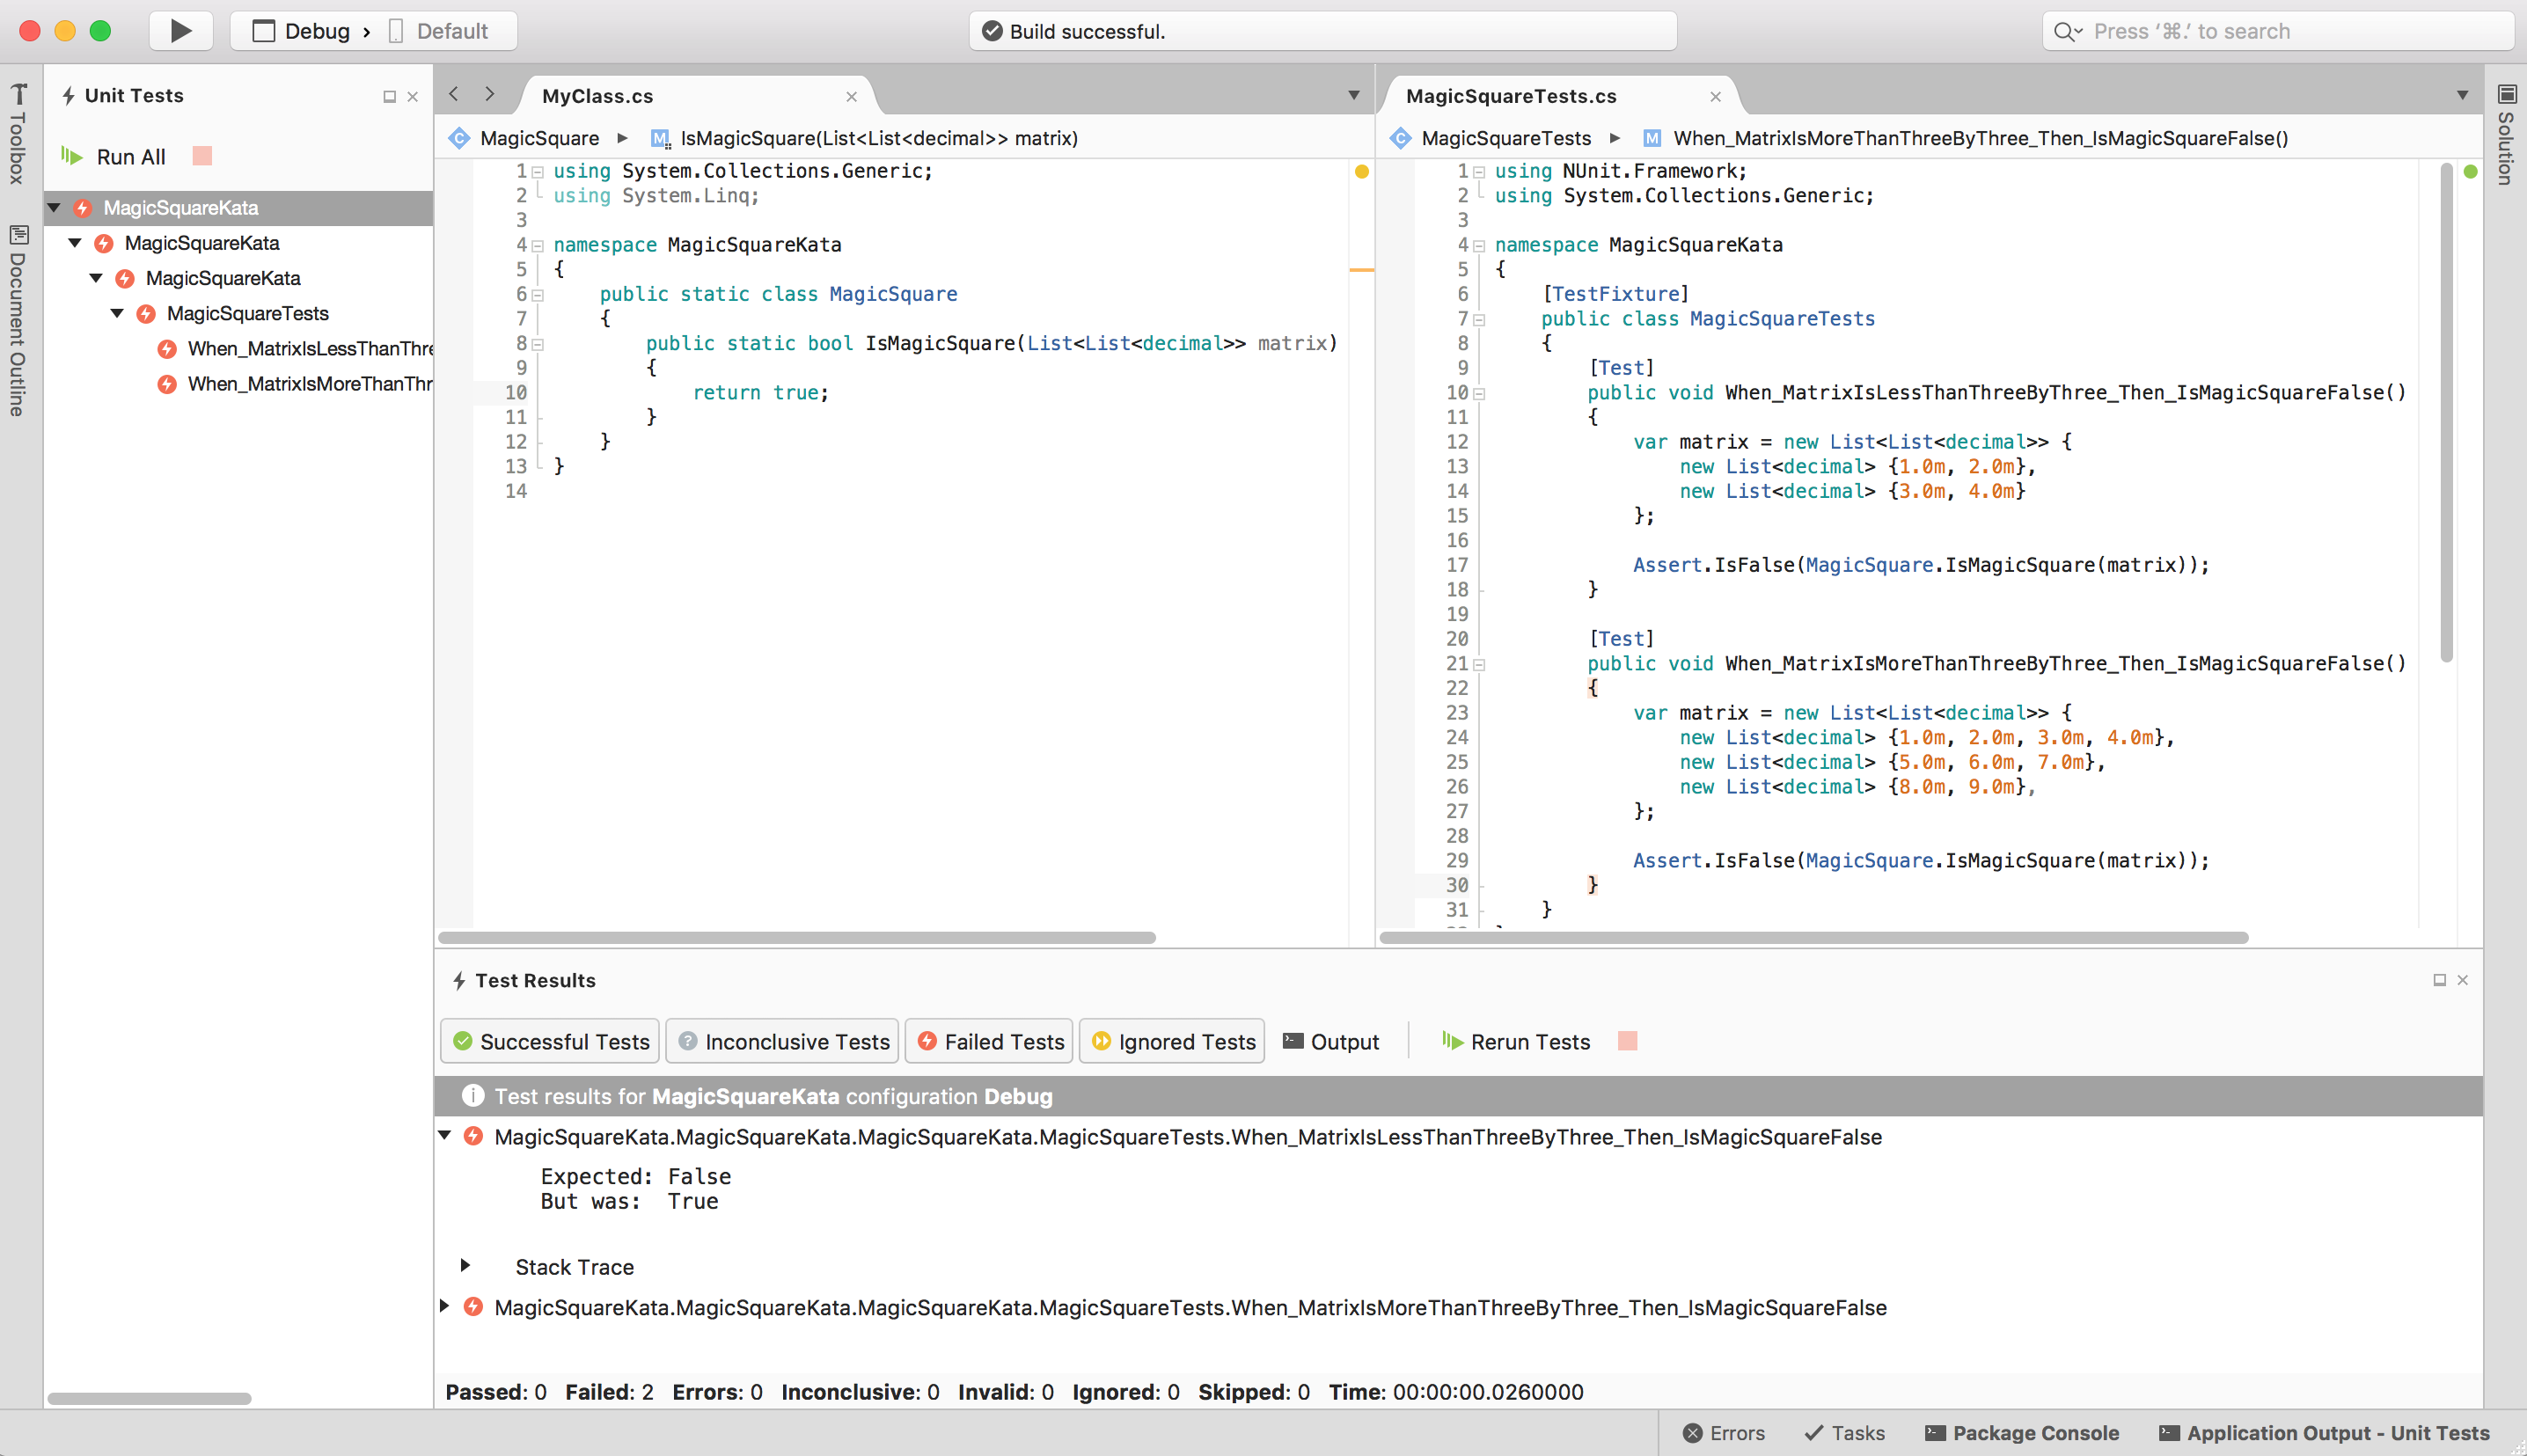
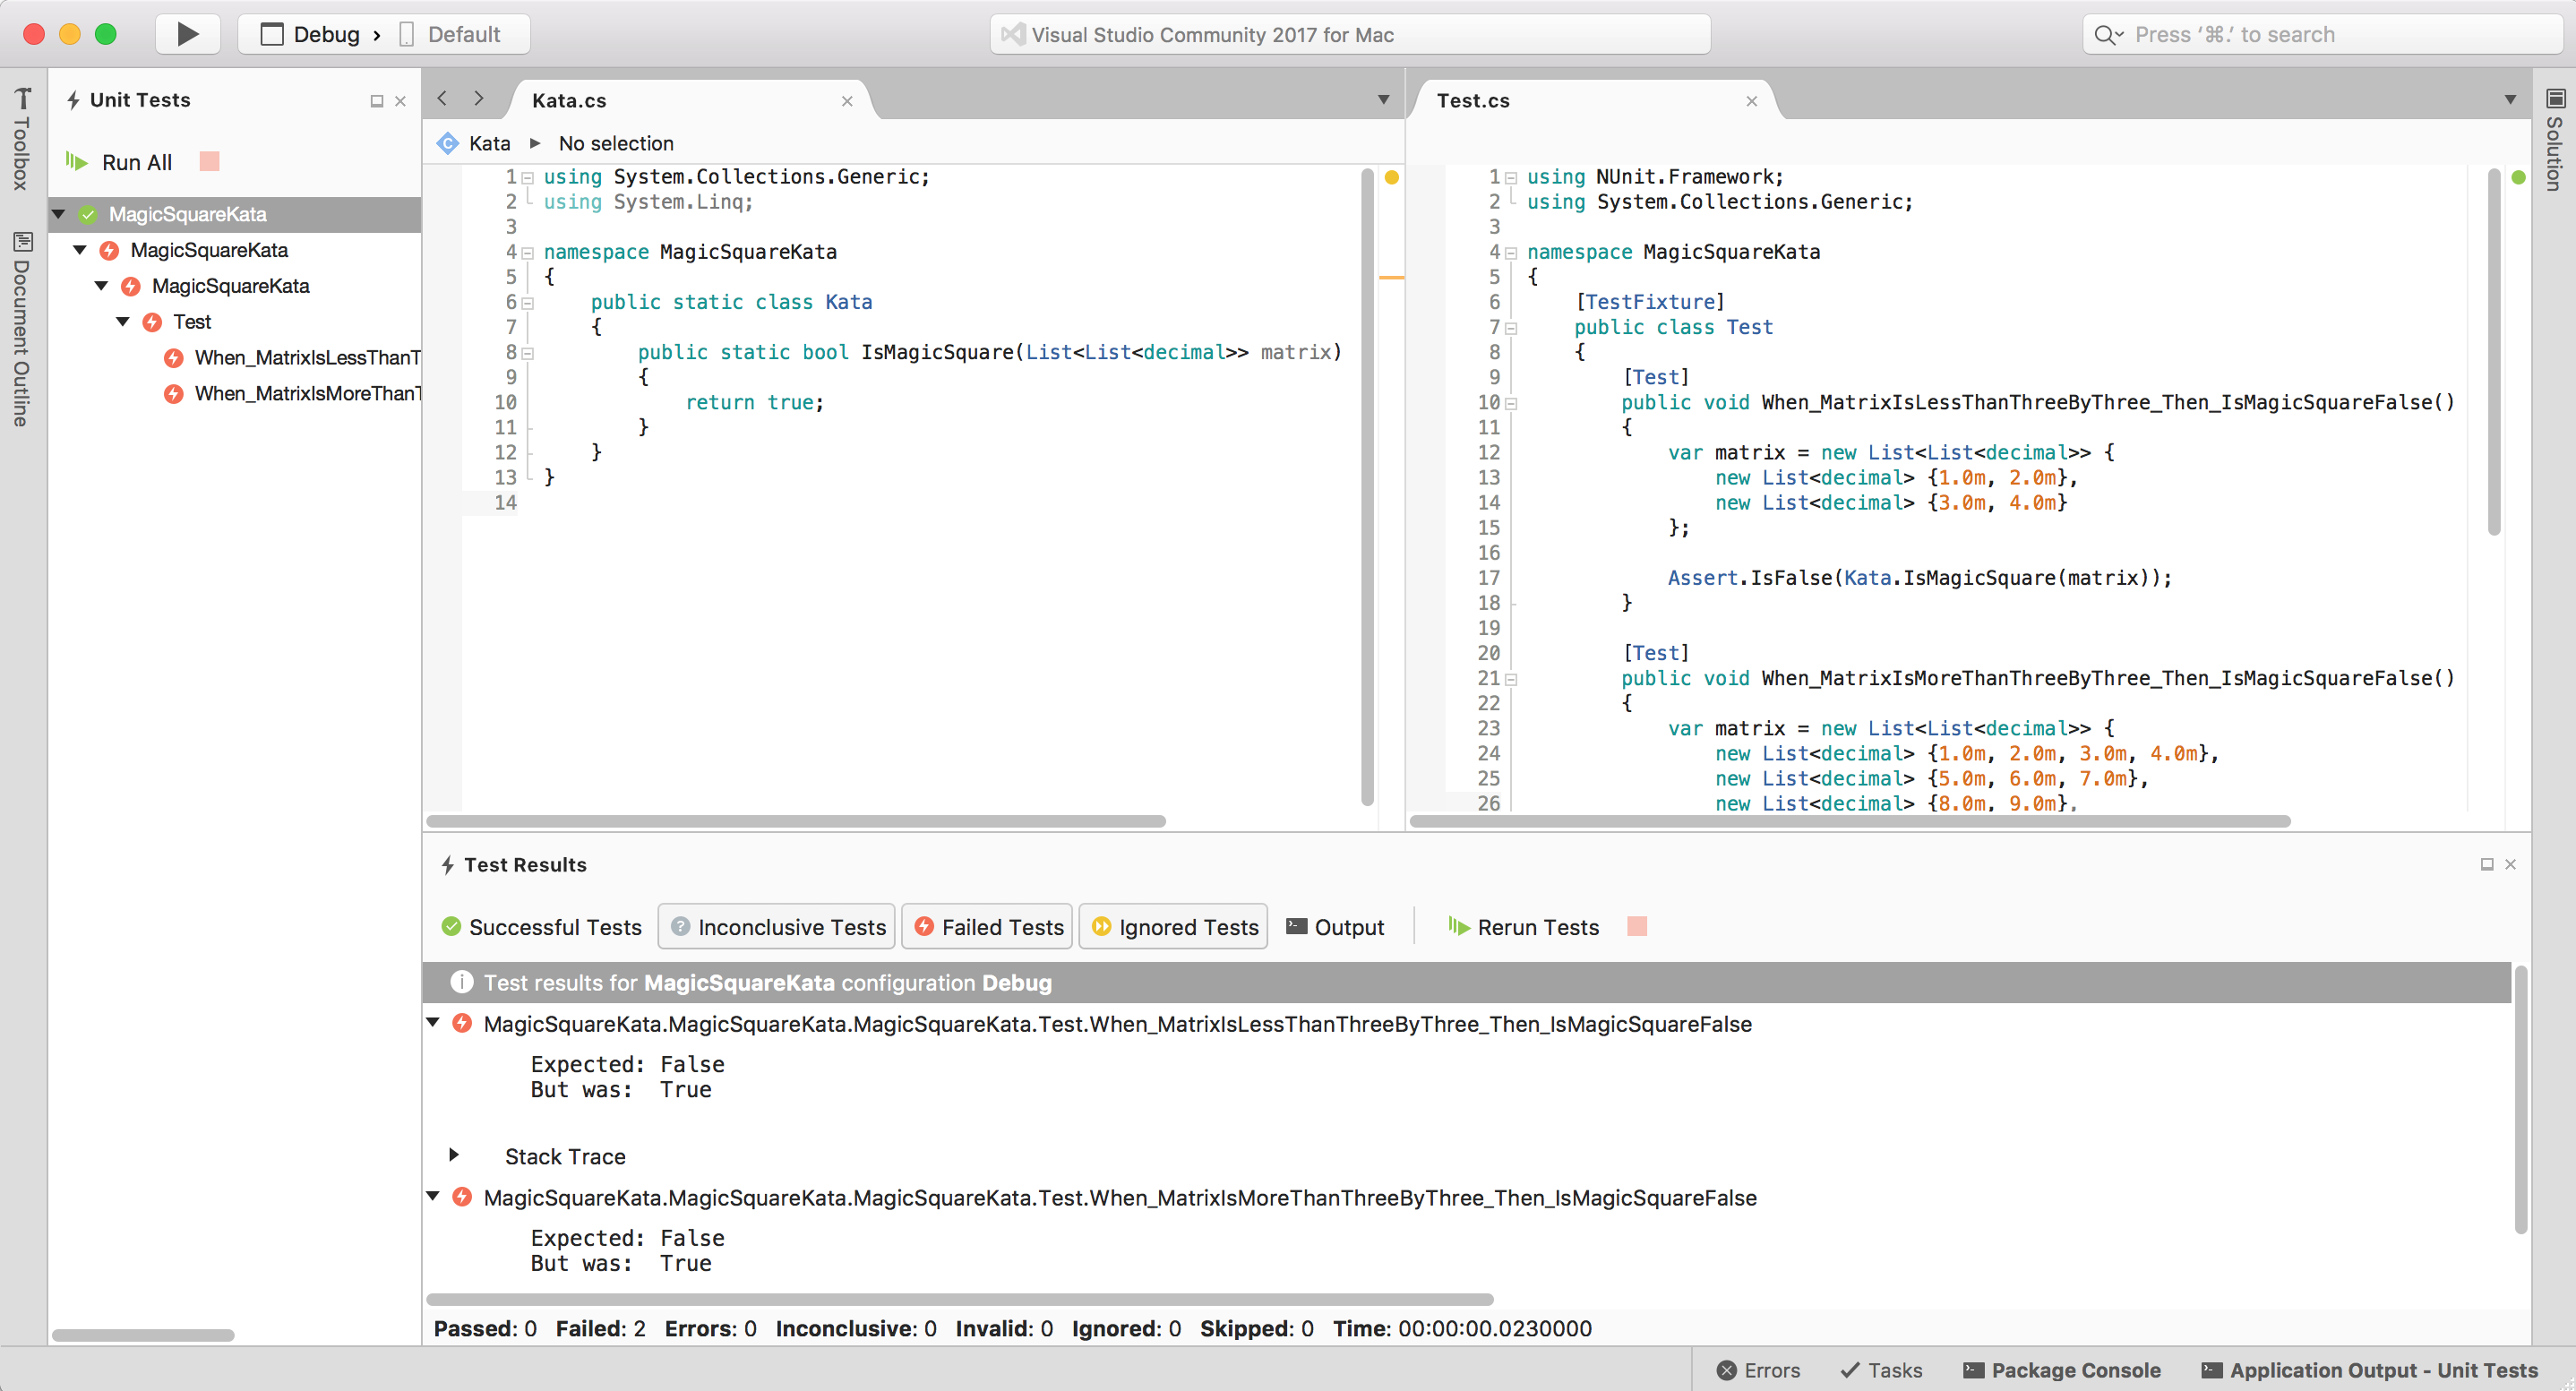
The test runner tells us what failed and where.
Run / Observe / Fix / Repeat!#
Try adding enough code to get the tests to pass, and run again. Green = good!